
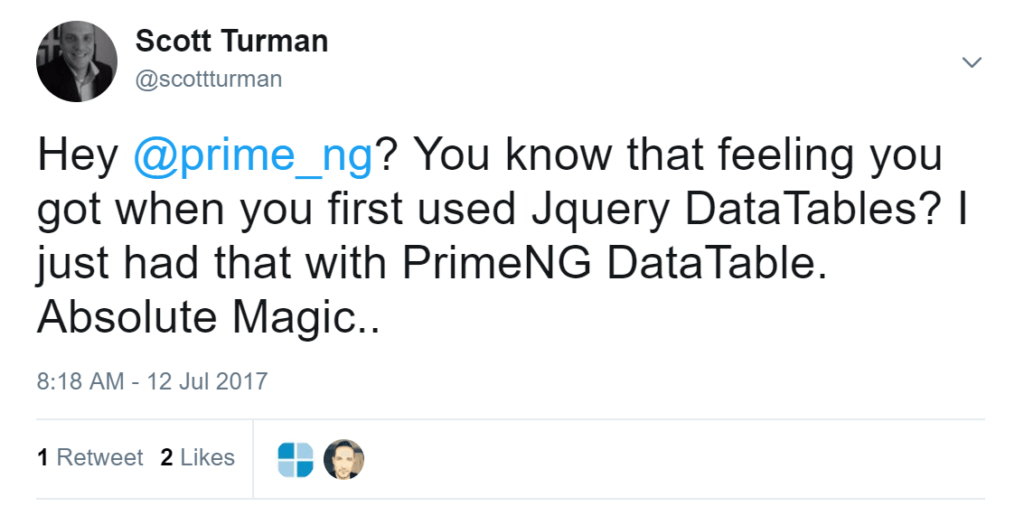
Does everybody remember when they first successfully fired up the DataTable plugin for Jquery? This magical jQuery Javascript library could, with one line of code, transform my shitty dull html table into a sortable, searchable and page-able work of art.
Once I switched over to Angular + .Net Core WebAPI(away from Asp.net MVC) I couldn’t bare to pollute my apps with Jquery anymore. I mostly ended up writing, like a schmuck, sorting-and-search features by hand. I often fantasized about JQuery DataTables but we had been through a nasty separation, for over a year now, and I wasn’t going back.
I often compare JQuery to an abusive relationship.
So on a recent project I decided to stop being alone. I was going to find a proper Angular equivalent for Jquery DataTables. My project involved taking SAP’s Business Objects API and turning report data into a sort-able, searchable, exportable and page-able work-of-art. After it was all over I had 4-5 POCs(Proof of Concepts) that tried using a myriad of DataTable frameworks.
My DataTable Requirements
- Must be stupid easy to use as basic features should be able to be setup in 5 min.
- Must naturally be consumed in a Angular2+ way without being forced to include other packages like Jquery.
- Must be supported by a descent community or organization that updates and patches on-the-regular.
- MIT License
PrimeFaces PrimeNG DataTable
I kissed more than a few frogs on my search. After a few dates with PrimeNG DataTable, I was convinced that I had found my jQuery Replacement as the first time I was able to fire up a proper grid I was a more than a little giddy.
Step 1: I simply grabbed some data from a Wikipedia page. I saved it off as a CSV file and renamed the fields.
Step 2: For expediency, I used a CSV to JSON tool found at csvjson.com/csv2json.
Step 3: I then saved off my newly minted, properly formatted JSON to a file named cities.json.
Step 3: Install PrimeNg with your favorite package manager.yarn add primeng or npm install primeng --save
Step 4: Using Angular CLI I added a new service. ng g service city
Step 5: Grab data from the your newly created cities.json file.
import { Observable } from "rxjs/Rx";
import 'rxjs/add/operator/toPromise';
import { Http, Headers, Response } from '@angular/http';
import { Injectable } from '@angular/core';
import { City } from '../models/City';

@Injectable()
export class CityService {

constructor(private http: Http) { }
getCities() {
    return this.http.get('../assets/cities.json')
        .toPromise()
        .then(res => <City[]>res.json().data)
        //.then(data =>  console.log(data) )
        .then(data => { return data; });
}}
Step 6: Add import { DataTableModule, SharedModule } from 'primeng/primeng'; to your app.module.ts.
Step 7: Add a new component ng g component prime-facesng-data-grid
Step 8: Load up the data and make it available to your components HTML page.
import { Component, OnInit } from '@angular/core';
import { City } from '../../models/city';
import { CityService } from '../city.service'
import { SelectItem, MultiSelectModule } from "primeng/primeng";

@Component({
    selector: 'app-prime-facesng-data-grid',
    templateUrl: './prime-facesng-data-grid.component.html',
    styleUrls: ['./prime-facesng-data-grid.component.css'],
    providers: [CityService]
})
export class PrimeFacesngDataGridComponent implements OnInit {

    cities: City[];
    cols: any[];
    columnOptions: SelectItem[];

    constructor(private cityService: CityService) { }

    ngOnInit() {
        this.cityService.getCities().then(city => console.log(city));
        this.cityService.getCities().then(city => this.cities = city);

        this.cols = [
            { field: 'rank', header: 'Rank' },
            { field: 'city', header: 'City' },
            { field: 'state', header: 'State' },
            { field: 'landAreaSqMi', header: 'landAreaSqMi' },
            { field: 'landAreaKm', header: 'landAreaKm' }
        ];

        this.columnOptions = [];
        for (let i = 0; i < this.cols.length; i++) {
            this.columnOptions.push({ label: this.cols[i].header, value: this.cols[i] });
        }
    }
}
Step 9: Add p-dataTable to your HTML page for your component.
<p-dataTable [value]="cities" [rows]="10" [paginator]="true" [pageLinks]="4" [rowsPerPageOptions]="[5,10,20]">
  <!--<p-header>
    <div style="text-align:left">
      <p-multiSelect [options]="columnOptions" [(ngModel)]="cols"></p-multiSelect>
    </div>
  </p-header>-->
  <p-column field="rank" header="Rank" [sortable]="true"></p-column>
  <p-column field="state" header="State" [sortable]="true"></p-column>
  <p-column field="city" header="City" [sortable]="true"></p-column>
  <p-column field="population2010" header="Population" [sortable]="true"></p-column>
</p-dataTable>
I love everything about how easy PrimeNg DataTables works.
Want to sort a column? Add [sortable]=”true” to the column. Boom …Sortable
Want to add paging? Add [paginator]=”true” to the p-dataTable. Boom …Paging
note: In order to get this Angular app displaying in Ghost(My CMS of choice) I compiled and pushed this prototype to Azure and then iframe’d it into this page.