Getting the .Net Core Web API and the Angular CLI to work together can be a daunting task. Here is a step by step guide.
Being a Microsoft fan-boy in the early 2000s was not advantageous nor fun. During the dark days of Com+, Dcom and “classic” asp I seriously considered going to law school. Everything was closed to extension and nearly impossible to modify or integrate.
Today Angular 4, a framework written by Google, was written using Microsoft’s TypeScript (Microsoft being our protagonist and principal enemy of Google). Let that roll around in your noodle for a bit. Now add the fact that Microsoft’s flagship development platform seems to be going opensource on top of embracing 3rd party packages and frameworks.
“Dogs and cats living together” ~ Dr. Peter Venkman
With that said why the hell is ASP.NET Core Web API so damn annoying to work side by side with AngularJS 2 errrrr ahhhh I mean AngularJS 4 CLI?
Why in the hell won’t my Mother Trucking TypeScript transpile? ~Said every Angular Developer Using Visual Studio Ever…

I will try to distill this down to a few steps. By the way I am using Visual Studio 2017
Before we Begin
Is Angular 4 CLI installed? npm install -g @angular/cli
- Open PowerShell or a basic command line.
- Create a folder for your project.
md testProj
Step 1: Create a new WebApi project from the command line. dotnet new webapi
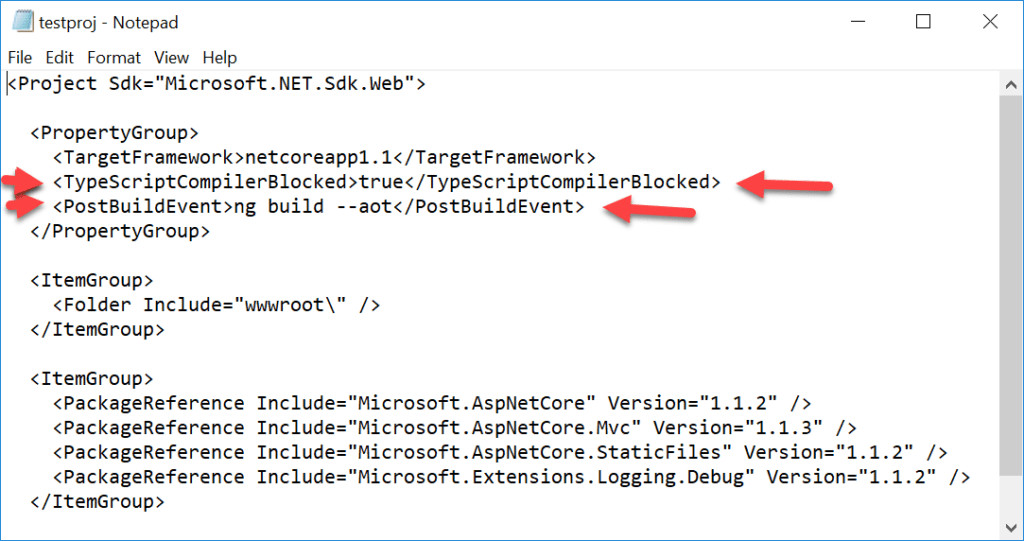
Step 2: Open the .csproj file in notepad. notepad.exe testProj.webapi'
Step 3: Add the below TypeScriptCompilerBlocked to the PropertyGroup section and save. This will let the Angular CLI compile your typescript and not Visual Studio.<TypeScriptCompilerBlocked>true</TypeScriptCompilerBlocked> <PostBuildEvent>ng build --aot</PostBuildEvent>
Step 4: Open the webAPi project via the environment or open it from the CLI. devenv testproj.csproj
Step 5: Open the NuGet Package manager console using the shortcut/cord alt T N O. As a side note, you need to memorize this shortcut as it will save you a ton of time.
Step 6: Now let’s install the StaticFile Package so we can serve up our Angular App. install-package Microsoft.AspNetCore.StaticFiles
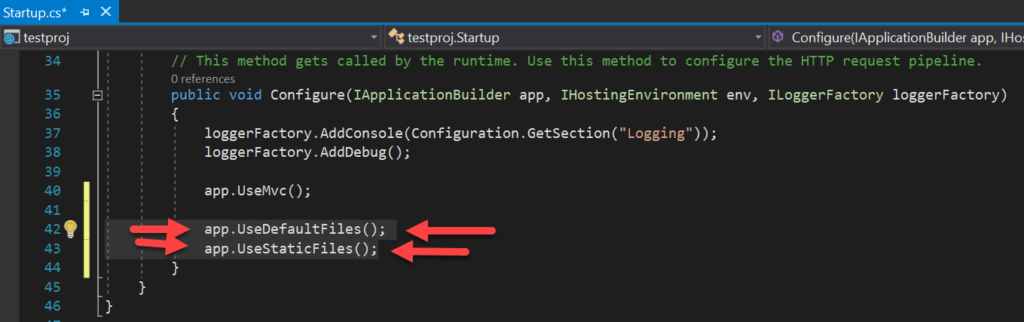
Step 7: Open Startup.cs and add the below code to the Configure method.
app.UseDefaultFiles(); app.UseStaticFiles();
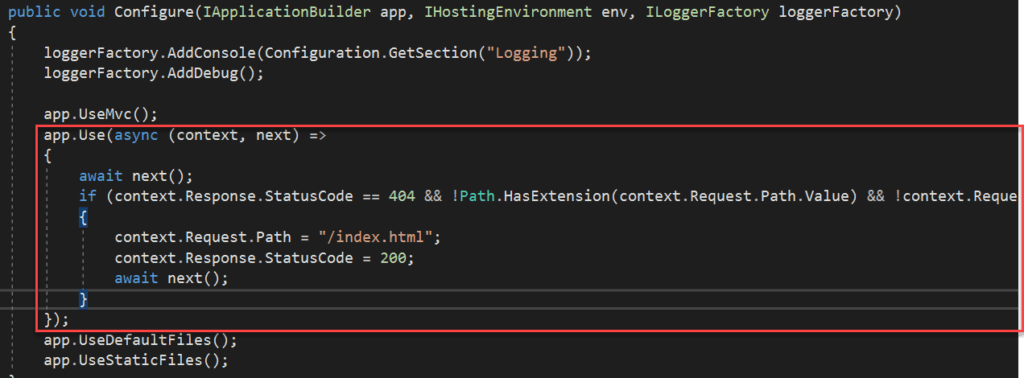
Step 8: Let’s redirect to the root of the file when a 404 is encountered. This annoyance must be experienced to be appreciated. Add the below code.
app.Use(async (context, next) => { await next(); if (context.Response.StatusCode == 404 && !Path.HasExtension(context.Request.Path.Value) && !context.Request.Path.Value.StartsWith("/api")) { context.Request.Path = "/index.html"; context.Response.StatusCode = 200; await next(); } });
Right in-between app.UseMvc() and app.UseDefualtFiles() on the configure method in Startup.cs.
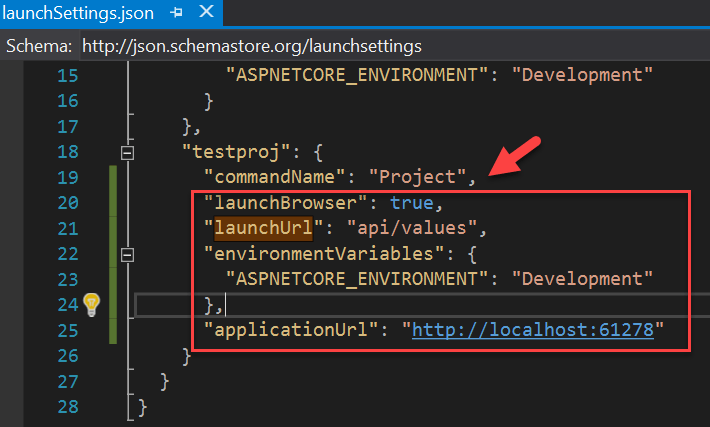
Step 9: Open launchSettings.json and add the below settings. "launchBrowser": true, "launchUrl": "api/values", "environmentVariables": { "ASPNETCORE_ENVIRONMENT": "Development" }, "applicationUrl": "http://localhost:61278"
Note: Notice the comma after “Project”.
Okay so let’s get Angular CLI Setup
Note: Keep in mind we are installing Angular on-top of WebApi.
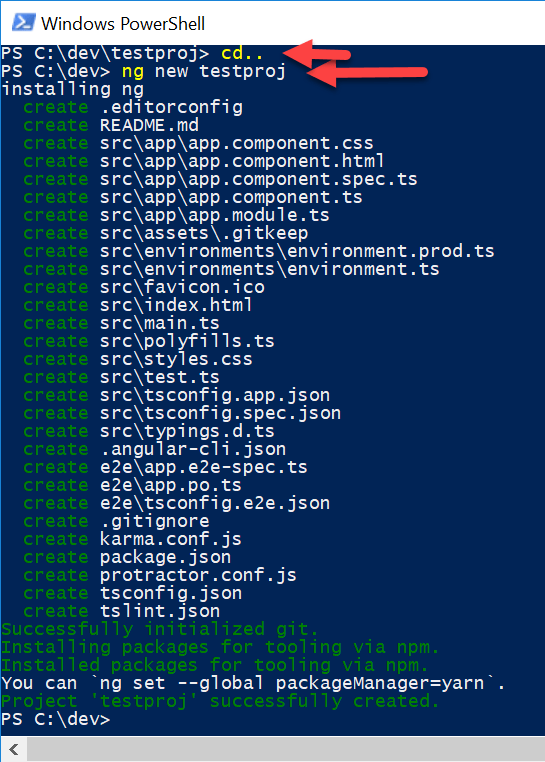
Step 10: From the command line drill one level above where ever your webAPI.csproj file is located and execute the below. This is the CLI Angular app generation command.
note: Make sure you match the name of your Angular App to your webAPI folder. In my case, I am using testproj. Also, notice the red arrows. I am one level above my project folder.
ng new testproj
Step 11: Rename the src folder to client-src.
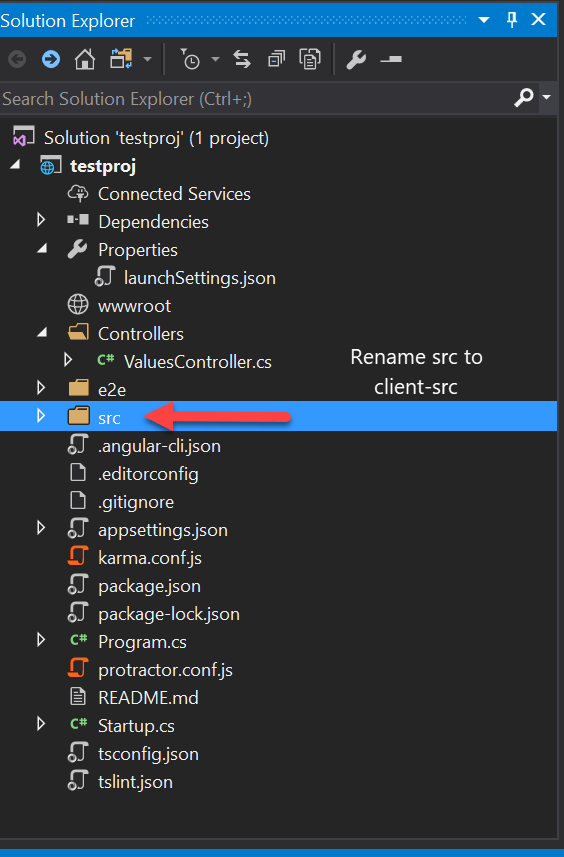
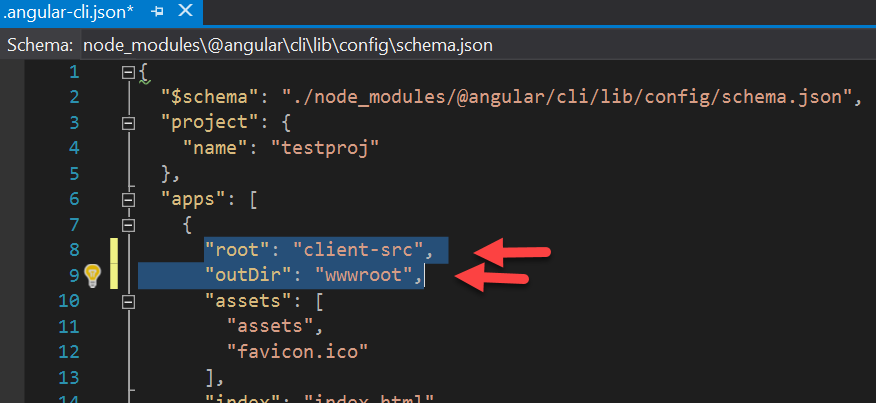
Step 12: Open the file angular-cli.json and do the below edits. The outDir will make sure to copy the assets into the wwwroot directory.
"root": "client-src", "outDir": "wwwroot",
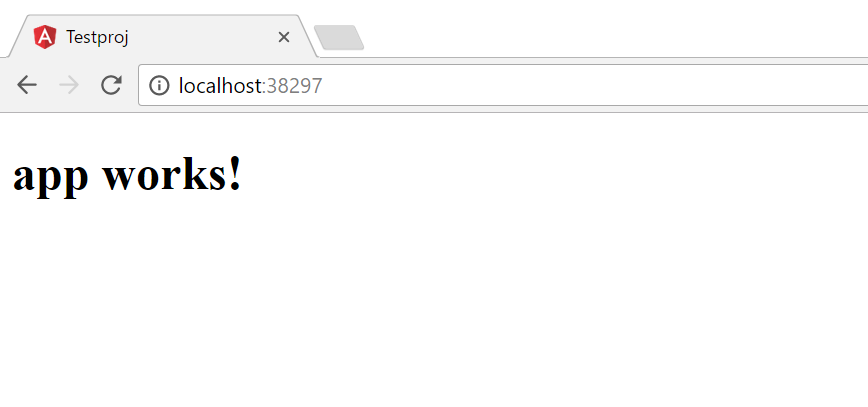
Okay, let build the Angular App and run this puppy!
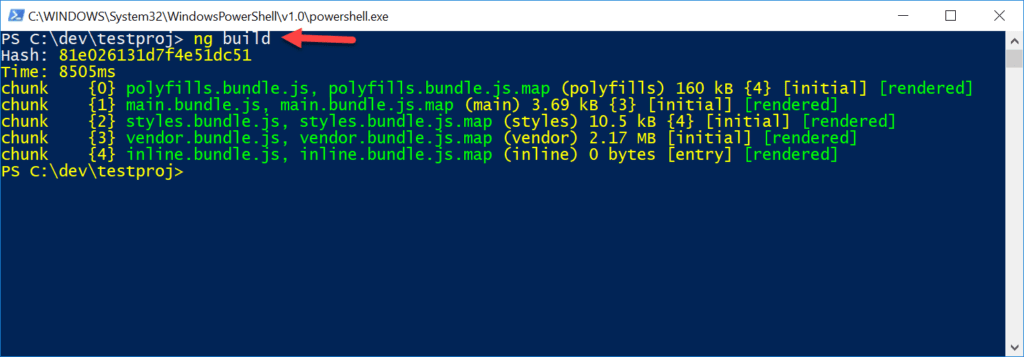
Step 13: Lets compile the angular app by running ng build.
Step 14: Go back to Visual Studio and hit F5 and you should see the below page.